

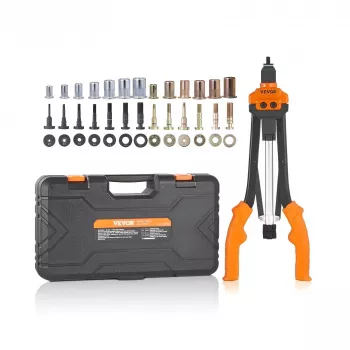
14″ & 16″ Heavy-Duty Rivet Nut Tool Kit (SAE/Metric)
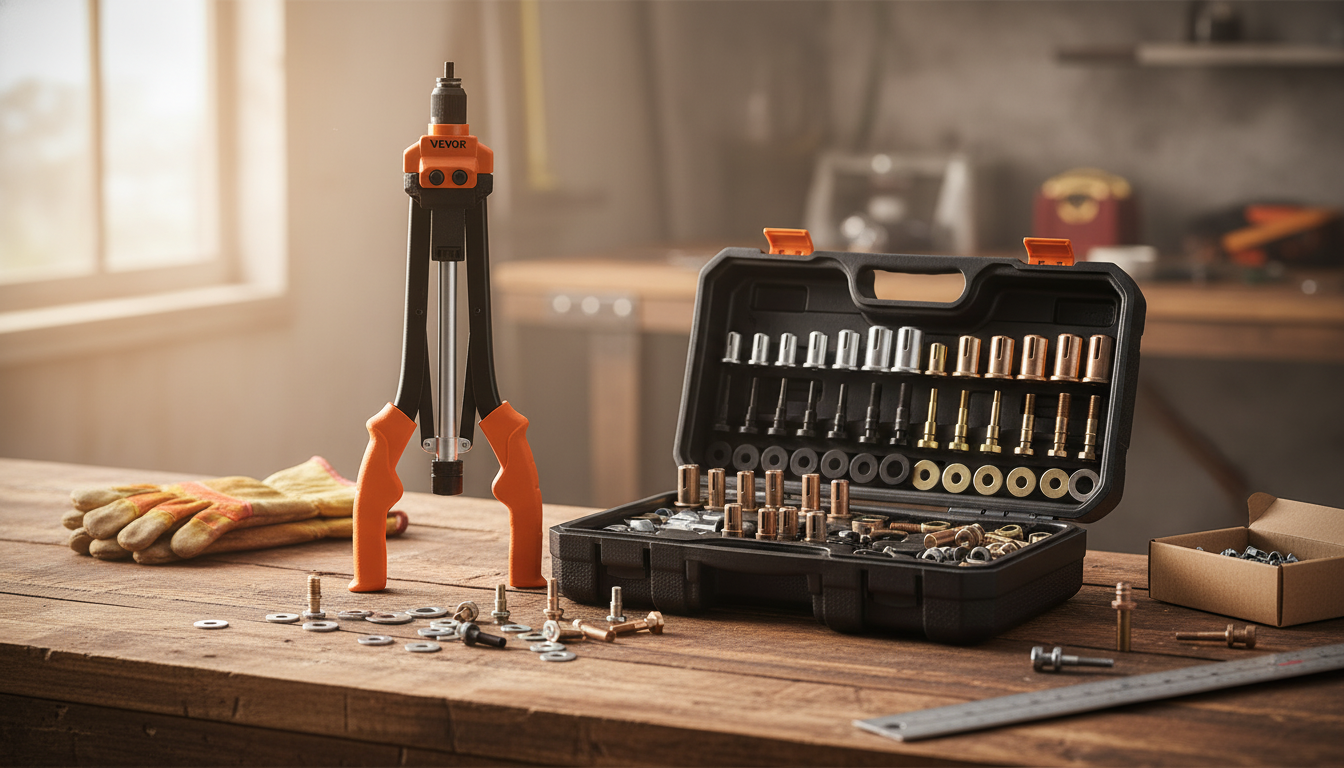
14″ & 16″ Rivet Nut Tool Kit with SAE & Metric Mandrels
Rivet nuts (often called rivnuts) create strong, reusable threads in thin or hollow materials where tapping threads isn’t practical. Instead of struggling with loose nuts behind a panel—or relying on self-tapping screws that can strip out—rivet nuts provide a clean, serviceable mounting point for bolts and machine screws. A heavy-duty rivet nut tool kit helps set each insert evenly and repeatedly, reducing spin-out, crooked installs, and inconsistent clamp-up.
This 14″ & 16″ rivet nut tool kit is sized for common shop and garage work: automotive panels and accessories, brackets, racks, light fabrication, and repairs. With both SAE and metric mandrels included, it’s ready for mixed hardware without forcing you to “make do” with the wrong threads.
What this tool does well
- Creates threaded inserts in sheet metal, tubing, and other thin materials for bolts and machine screws.
- Supports mixed fastener standards with both SAE and metric mandrels for versatile shop use.
- Long handles (14″/16″) increase leverage for smoother pulls and more consistent setting in tougher materials.
- Useful for repeated installs where consistent clamp load and alignment matter (brackets, accessories, enclosures).
Rivet nut installation is a “blind” process—only one side of the material is accessible—so a tool that pulls the insert straight and predictably is the difference between a solid, non-spinning insert and an annoying redo. For background on the fastener style and why it’s popular in thin materials, see Rivet nut (blind rivet nut) overview.
Where rivet nuts make the most sense
- Automotive: mounting fender liners, underbody shields, roof rack accessories, light brackets, and interior panels.
- DIY fabrication: adding threaded points to steel/aluminum tube for removable panels or bolt-on accessories.
- Equipment repair: restoring stripped sheet-metal threads or upgrading from self-tapping screws to machine-thread fasteners.
- Furniture and fixtures: adding sturdy threads to thin-walled components where a nut and washer can’t reach.
If you’re replacing a stripped screw location in thin metal, a correctly sized rivet nut often turns a “temporary fix” into a repeatable service point. Fastener suppliers commonly emphasize three fundamentals for success: correct hole size, correct grip range, and square installation; the Fastenal rivet nuts technical info PDF is a helpful reference for those basics.
Kit overview: 14″ vs 16″ handle length
Handle length directly affects leverage and comfort. Longer handles reduce the effort needed to collapse the insert, which can be especially noticeable in tougher materials, larger inserts, or when you’re doing multiple installations in a row.
Quick comparison: 14″ vs 16″ rivet nut tool
| Feature | 14″ Tool | 16″ Tool |
|---|---|---|
| Best for | Tighter spaces; general installs | Higher leverage; tougher pulls |
| Leverage | High | Higher |
| Control/clearance | Easier in confined areas | Needs more swing room |
| Typical use cases | Panels, light brackets, small-to-mid inserts | Frequent installs, thicker stacks, larger inserts |
When working inside a wheel well, near a door jamb, or under a dash, the 14″ option can be easier to position squarely. When setting multiple inserts in thicker stacks or tougher material, the 16″ option can reduce hand fatigue and help keep pulls smooth and consistent.
SAE and metric mandrels: why it matters
- Avoids mixing thread standards: the correct mandrel keeps the rivet nut centered and reduces cross-threading risk.
- Improves workflow: switch to the fastener size already used on a vehicle, tool rack, or project without hunting for a separate tool.
- Helps protect rivet nuts during installation: proper thread fit reduces binding and thread damage.
- Supports maintenance work: repairs often involve both inch and metric hardware across different components.
A rivet nut can feel “tight” on the wrong mandrel for all the wrong reasons—binding and partial engagement can damage threads before the insert is ever set. Matching the mandrel to the insert’s thread keeps the installation smoother and the finished threads cleaner.
How to set rivet nuts cleanly (step-by-step)
- Drill the correct hole size for the rivet nut body; deburr both sides so the flange sits flat.
- Thread the rivet nut onto the correct mandrel until seated against the tool’s nosepiece.
- Insert the rivet nut squarely into the hole; keep the tool perpendicular to the surface.
- Squeeze handles to collapse the rivet nut; stop when the rivet nut is firmly set (avoid over-crushing).
- Reverse/unthread the tool from the installed rivet nut; verify the insert is tight and not spinning.
- If spin occurs: confirm hole size, material thickness range, and rivet nut style; consider a serrated/knurled body rivnut in smoother materials.
Getting consistent results: fit, material, and common mistakes
Care and storage for a longer tool life
Product details and ordering
Also available (in stock)
- Stainless Steel Non-Stick Rolling Pin Set for Baking & Kitchen Use
- Beautiful Stainless Steel Shell Spoon – Elegant Kitchen Ladle Set
- Elegant Cork Stopper Glass Storage Jar – Transparent Food & Tea Container
FAQ
What’s the difference between a rivet nut and a rivet?
A rivet is a permanent fastener used to clamp materials together, while a rivet nut is a threaded insert that lets you use removable bolts or machine screws. Rivet nuts are especially useful in thin or hollow materials because they install from one side and leave usable threads behind.
Why does a rivet nut spin in the hole, and how can it be prevented?
Spin usually comes from an oversized hole, the wrong grip range for the material thickness, using a smooth-body insert in soft material, or pulling the tool at an angle. Prevent it by drilling the correct size, deburring so the flange seats flat, choosing knurled/serrated or large-flange rivet nuts when needed, and keeping the tool square during the pull.
Can the same rivet nut tool handle both SAE and metric rivet nuts?
Yes—if the kit includes the correct SAE and metric mandrels (and any matching nosepieces). Always use the matching thread to avoid cross-threading, binding, and damaged inserts during installation.


Leave a comment