

Plant Potting Shelves Wall Mural Sticker for Cozy Rooms
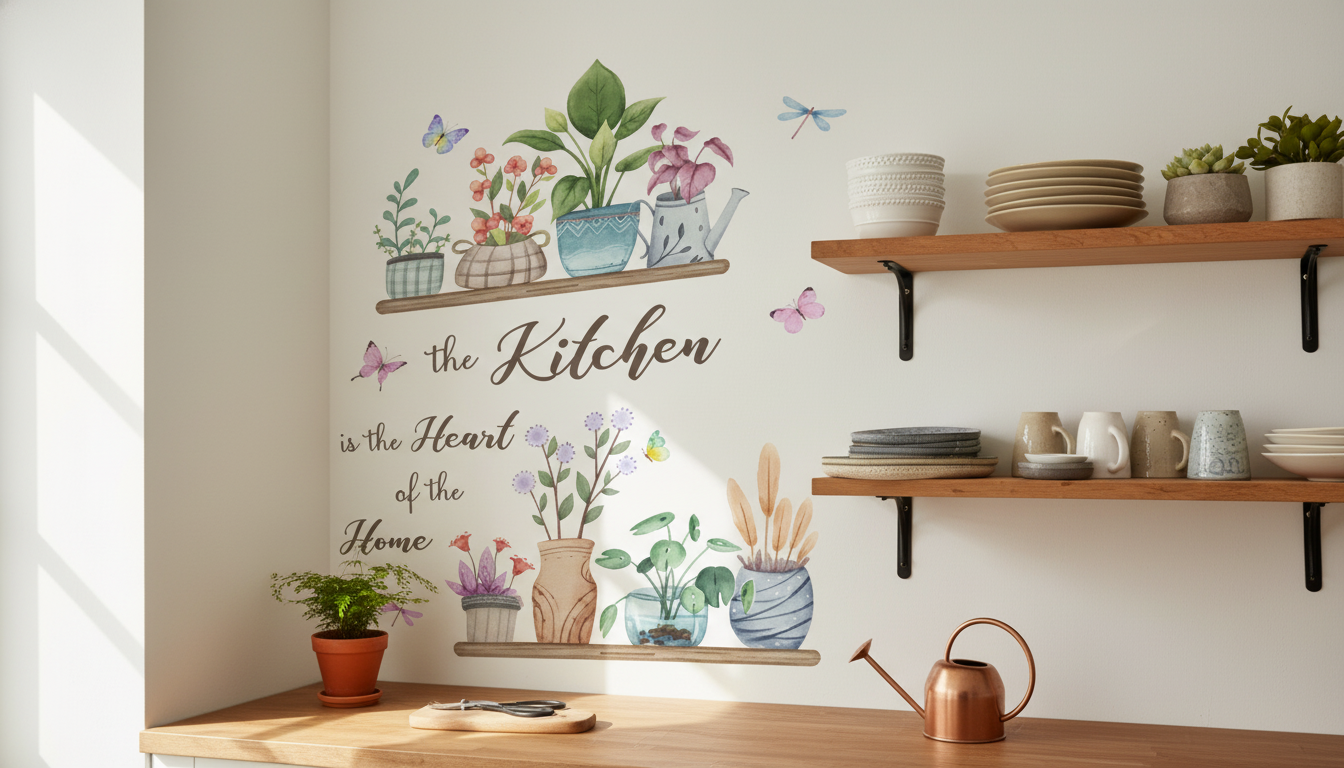
Plant Potting Shelves Wall Mural Sticker – Nature-Inspired Home Wall Décor
Bring the look of fresh greenery indoors without the upkeep. The Plant Potting Shelves Wall Mural Sticker – Nature-Inspired Home Wall Décor creates a cozy “mini indoor garden” feel—ideal for brightening small spaces, adding depth to blank walls, and tying together natural textures like wood, linen, and rattan. It’s an easy way to get the charm of styled plant shelves even if your home doesn’t get great sunlight or you prefer low-maintenance decorating.
What This Wall Mural Sticker Adds to a Room
This mural-style sticker delivers instant atmosphere. The shelf-and-planter motif naturally draws the eye upward, helping a room feel taller and more finished without the cost (or commitment) of installing real shelving.
- Creates a nature-forward focal point that softens hard lines in modern interiors.
- Gives the illusion of styled shelves and potted plants without needing real shelving or sunlight.
- Helps fill vertical wall space in apartments, dorms, and rental homes without permanent changes.
- Pairs well with neutral palettes (white, beige, gray) and earthy tones (sage, terracotta, oak).
For a healthier-feeling indoor environment, many people also enjoy the emotional boost of greenery—real or visual. Indoor plant themes are often used to create a calmer vibe similar to what people report when they keep live plants in their space (see Cleveland Clinic’s overview of potential well-being benefits: https://health.clevelandclinic.org/benefits-of-indoor-plants).
Best Places to Use It (and the Mood It Creates)
Because it reads like a styled vignette, this wall mural sticker can shift the mood of a room quickly—especially where walls feel bare or furniture sits low.
- Entryway: adds a welcoming, “homey” first impression near a shoe bench or console.
- Living room: balances minimalist furniture and adds warmth behind a sofa or reading nook.
- Kitchen or breakfast corner: complements herb-planter themes and café-style décor.
- Home office: brings a calming, plant-inspired backdrop for focus and video calls.
- Bathroom: delivers a spa-like vibe (place away from direct water spray and high humidity zones).
| Room | Where to place it | Style tip |
|---|---|---|
| Entryway | Above a slim console or hooks | Add a woven tray or small bowl to echo natural textures |
| Living room | Behind sofa or beside a bookcase | Match throw pillows to greens or warm wood tones |
| Kitchen | Near a breakfast table or pantry wall | Coordinate with glass jars and light wood accessories |
| Home office | Behind desk or on a side wall | Keep the desk surface simple so the mural stands out |
| Bedroom | Near a vanity or reading corner | Pair with linen bedding and warm, soft lighting |
Picking the Right Wall and Surface
A little planning helps the mural look crisp and stay put. The best results come from choosing a surface that allows the adhesive to make full, even contact.
- Smooth, clean, dry surfaces work best (painted drywall, sealed wood, metal, glass).
- Avoid heavily textured walls where edges may lift over time.
- Fresh paint should fully cure before application to prevent bubbling or peeling.
- Give it breathing room: choose a wall where the design reads clearly from a few steps back.
If you’re repainting first, consider indoor air quality while choosing paints and finishes. The U.S. EPA notes that volatile organic compounds (VOCs) can affect indoor air quality, especially during and after painting: https://www.epa.gov/indoor-air-quality-iaq/volatile-organic-compounds-impact-indoor-air-quality.
Simple Installation for a Clean, Bubble-Free Finish
The difference between “sticker on a wall” and a polished mural look is mostly in the prep and smoothing. Take your time—especially with alignment.
- Prep: wipe the wall to remove dust and oils; let it dry completely.
- Plan: lightly mark placement with painter’s tape to center and level the design.
- Apply: peel gradually and smooth from the center outward to push out air.
- Finish: press along edges to secure; re-smooth after 10–15 minutes as adhesive settles.
- Helpful tools: soft cloth, plastic card/squeegee, and a step stool for accurate alignment.
For renters, this is a particularly convenient upgrade: no anchors, no patching, and no sawdust—just a big visual payoff on a blank wall.
Styling Ideas That Make It Look Intentional
The mural already suggests a styled shelf moment, so nearby décor should support the theme without competing. A few coordinated pieces go a long way.
In kitchens and breakfast corners, try pairing the mural with clear, pantry-style organization. The Elegant Cork Stopper Glass Storage Jar – Transparent Food & Tea Container fits the natural vibe—especially when displayed with wood boards, neutral linens, and simple labels.
Care, Removal, and Repositioning
Gifting and Seasonal Refresh Ideas
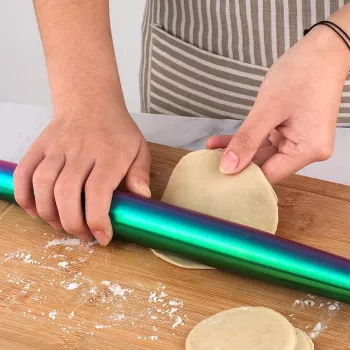
If the mural is going into a kitchen refresh bundle, consider adding a functional countertop upgrade like the Stainless Steel Non-Stick Rolling Pin Set for Baking & Kitchen Use for a cohesive “cozy kitchen corner” gift pairing.
Shop the Look
- Plant Potting Shelves Wall Mural Sticker – Nature-Inspired Home Wall Décor
- Elegant Cork Stopper Glass Storage Jar – Transparent Food & Tea Container
- Stainless Steel Non-Stick Rolling Pin Set for Baking & Kitchen Use
FAQ
Will it work on textured walls?
It works best on smooth surfaces; textured paint can reduce adhesion and cause edges to lift. If the texture is light, firm smoothing during application and extra edge pressing can improve results.
Can it be removed without damaging paint?
Slow, careful removal is key, and gently warming the sticker can help release the adhesive. Older paint or paint that wasn’t well-bonded to the wall is more likely to lift.
Where should it not be placed?
Avoid areas with direct water spray, constant steam, or dusty/greasy buildup—like right behind a stove. These conditions can weaken adhesion and make cleaning difficult.


Leave a comment