

1080p Smart WiFi Projector: Auto Focus & 4K Input Tips
Full HD 1080P Smart WiFi Projector with Auto Focus & 4K Support: What It’s Built For
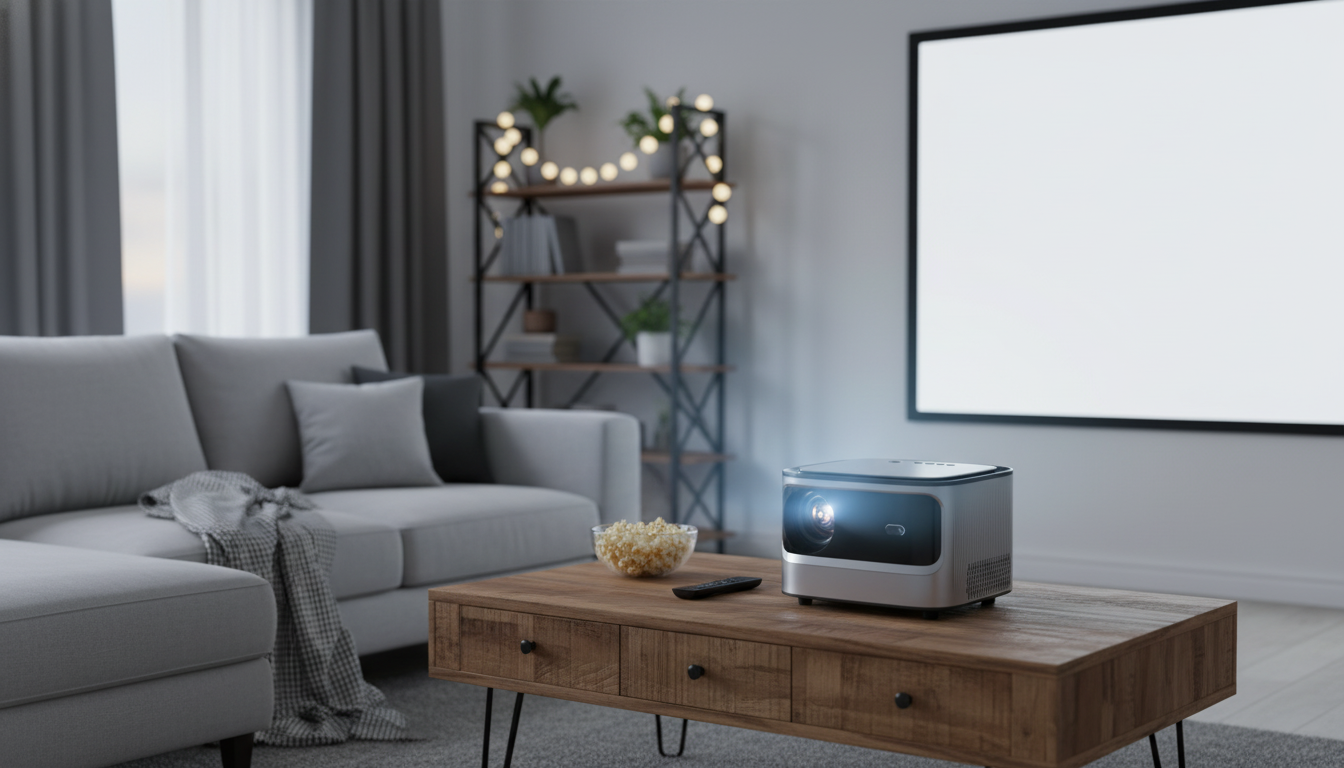
A smart WiFi projector is at its best when you want a big, immersive picture without committing to a permanent TV install. A Full HD 1080P native projector with auto focus and 4K support is designed for flexible, real-world viewing—moving from living room to bedroom, or even outside—while keeping setup simple and the image reliably sharp. For more guidance, see Best 4K Projector for 2026: Tested and Reviewed by Experts – CNET.
- Big-screen viewing in flexible spaces: movie nights, sports, casual gaming, and occasional presentations.
- Full HD 1080P native resolution: crisp subtitles, readable menus, and detailed streaming content.
- Auto focus convenience: faster setup when the projector shifts between rooms or gets bumped on a table.
- WiFi-based streaming/casting: options vary by ecosystem (phone, laptop, streaming apps, and casting methods).
- 4K support: accepts higher-resolution input signals and displays them at the projector’s native 1080P.
Auto Focus and 4K Support: What They Mean in Practice
Auto focus is the difference between “good enough” and “dialed in” when the projector isn’t permanently mounted. If you move the projector closer, farther, or slightly off-angle, auto focus can quickly re-lock on sharpness so text and faces don’t look smeared—especially helpful for quick weeknight viewing. For further reading, see The 7 Best Home Theater Projectors of 2026 – RTINGS.com.
4K support usually means the projector can accept a 4K signal (from a streaming stick, console, or Blu-ray player) and then downscale it to 1080P for display. You don’t get native 4K pixels, but you can still benefit from higher-quality source masters and better device processing.
For the cleanest result, avoid “double scaling”: set your source device to an output that matches what the projector handles best (often 1080p) unless the projector’s downscaler performs better with a 4K input. A quick A/B test with the same scene (faces, fine textures, text overlays) will usually reveal which setting looks more natural.
Placement and surface matter as much as resolution. A flat, matte surface and a controlled-light room often improve perceived clarity more than a spec-sheet jump.
Quick Start Placement for a Clean Image
Start simple: center the projector to the screen area, keep it level, and use keystone correction only when necessary. Heavy keystone can soften edges and make focus less uniform.
A matte white wall works for casual viewing, but a dedicated screen can deliver more uniform brightness and contrast. For a deeper dive on screen materials and how they affect brightness and hotspots, see Projector Central’s screen basics.
| Goal | What to do | Why it helps |
|---|---|---|
| Sharper focus | Place the projector level and centered | Reduces distortion and edge softness |
| Better contrast | Dim room lights and block window glare | Dark scenes look deeper and more detailed |
| More uniform image | Project onto a flat, matte surface | Cuts hotspots and patchy brightness |
| Less setup time | Mark a “sweet spot” on a shelf/table | Auto focus fine-tunes instead of redoing everything |
Also give the projector breathing room. Ventilation clearance helps prevent heat buildup that can reduce brightness stability or trigger throttling during longer movies.
Connecting to a Home Theater (Sound and Sources)
There are two common ways to wire a projector into a home theater setup:
- Direct-to-projector video: Plug a streaming stick, console, or laptop into the projector via HDMI for video. Then route audio to a soundbar/receiver using the projector’s available audio output (or Bluetooth, if supported). This is often the simplest path.
- Receiver-first: Plug all sources into an AV receiver, then run a single HDMI to the projector. This keeps switching and audio processing centralized—ideal for multi-device setups.
If you notice lip-sync delay, try a wired audio path first, then adjust the audio delay setting on the soundbar/receiver. For streaming reliability, keep the projector within strong WiFi range and reduce network congestion when possible (busy 2.4 GHz channels and distance can cause buffering or casting drops). For broader setup considerations and buying tips, CNET’s projector guidance is a useful reference.
Picture Settings That Usually Make the Biggest Difference
Most projectors look dramatically better with a few quick adjustments:
Everyday Use Scenarios
Movie nights
Sports
Kids’ room or casual TV replacement
Outdoor viewing
Care, Longevity, and Troubleshooting Basics
Product Options (In Stock)
- Full HD 1080P Smart WiFi Projector with Auto Focus & 4K Support for Home Theater — a single-device upgrade for big-screen viewing with smart connectivity and fast refocusing when you reposition it.
- Elegant Cork Stopper Glass Storage Jar – Transparent Food & Tea Container — a simple way to keep popcorn kernels, candy, or tea organized for movie nights.
- Stainless Steel Non-Stick Rolling Pin Set for Baking & Kitchen Use — useful for quick snacks (cookies, flatbreads) before a backyard screening.
FAQ
How to connect a smart projector to a home theater?
Common setups include HDMI from a streaming stick/console to the projector with audio sent to a soundbar via wired output or Bluetooth, or routing all sources into an AV receiver and sending one HDMI to the projector. If you hear lip-sync issues, adjust audio delay on the soundbar/receiver or switch to a wired audio connection.
Is a smart projector worth it?
It can be, especially when a massive screen and portability matter more than daytime brightness. Built-in WiFi features and auto focus also cut down setup hassle, though many people still prefer external speakers for richer sound.
Is a smart projector better than a TV?
A projector typically wins on screen size and flexibility, while a TV usually wins on brightness, contrast, and instant-on convenience—especially in bright rooms. The better choice depends on lighting conditions, the screen size you want, and whether you value portability over always-on readiness.


Leave a comment