

4-Lamp Softbox Setup for Product Photos (Step-by-Step)
How do you set up a four lamp softbox lighting kit for product photography?
A four-lamp softbox kit is easiest to set up when you treat it like a repeatable “light recipe”: build the stands first, place the modifiers, then fine-tune power and angles around your product. The goal is even, controllable light with predictable shadows and clean reflections.
Step-by-step setup
1) Prepare the space and background
Clear a small area so you can walk around the table. Place your sweep or backdrop first (paper, vinyl, or a light tent), then position the product and lock in the camera angle. Setting composition early prevents you from constantly moving lights later.
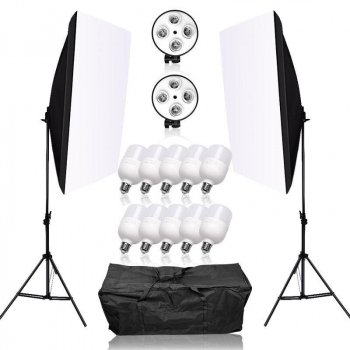
2) Assemble stands and softboxes (before adding bulbs)
Extend each light stand to a stable, medium height and widen the legs fully. Build each softbox frame, attach the diffusion panel(s), and mount the softbox to the light head. Add bulbs last to avoid handling hot bulbs and to reduce the chance of drops.
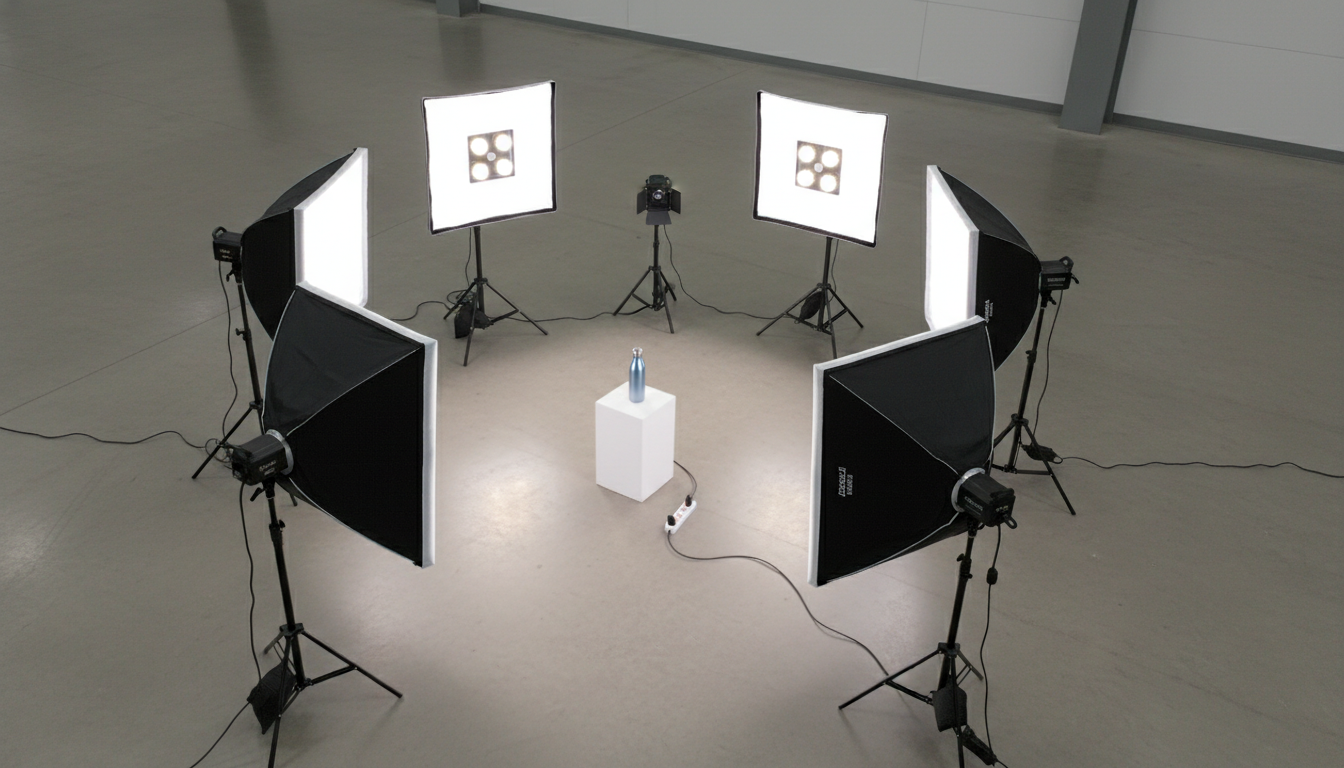
3) Place the two “main” lights for even coverage
Put one softbox to the front-left and one to the front-right of the product at roughly 45° angles. Start with both at about the product’s height, slightly above the item and aimed down for natural-looking shadows. Move them closer for softer light; move them farther for more contrast.
4) Add a top or front fill to control shadows
Use the third lamp as fill. Common placements are above and slightly in front (to brighten labels) or closer to the camera axis (to reduce deep shadows). Keep it lower power than the main pair so the product doesn’t look flat.
5) Use the fourth light for separation or background
Use the last lamp as a rim/separation light from behind to define edges, or aim it at the background to push it cleaner/whiter. For reflective products, feather the light (aim past the subject) to reduce harsh hotspots.
6) Dial in exposure and color
Set all lights to the same color temperature (or use matching bulbs), then set your camera’s white balance accordingly. Take a test shot, check glare and shadow density, and make small angle/distance changes—usually just a few inches makes a big difference.
For diagrams and placement ideas that work for both products and portraits, see the full guide: four-lamp softbox lighting setup.
FAQ
Where should you place a background light when shooting on a white backdrop?
Aim it at the backdrop (not the product) from the side or low behind the subject, and increase power only until the background looks clean without creating a bright halo around the product’s edges.


Leave a comment