

DIY Alphabet Blocks: Safe, Durable, Kid-Friendly Steps
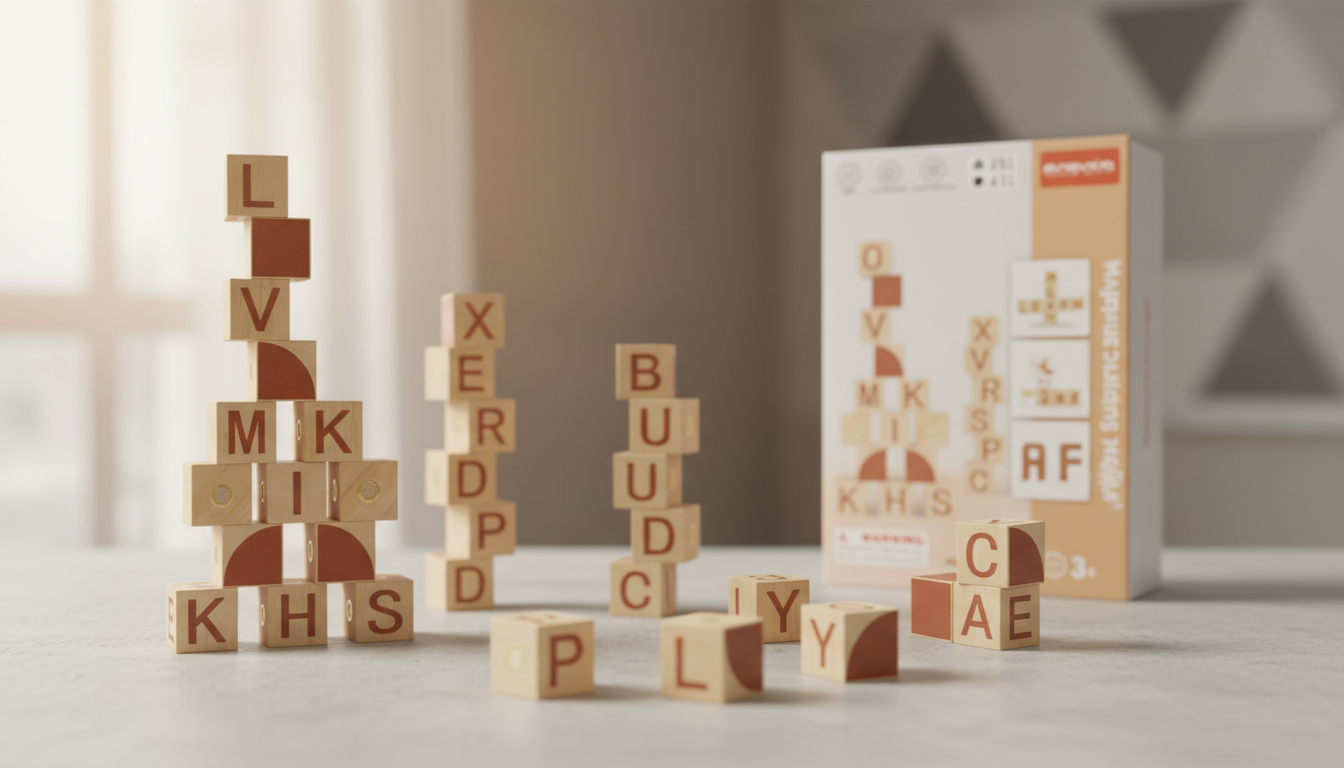
How to make your own alphabet blocks?
Making your own alphabet blocks is a simple DIY project that can turn into a durable learning toy. The key is choosing safe materials, keeping the blocks uniform, and sealing everything so little hands can play without chips, flakes, or splinters.
1) Choose your block material and size
Start with unfinished wooden cubes from a craft store, or cut your own from pine, maple, or birch. A common, kid-friendly size is 1.5–2 inches per side—large enough to grip, small enough to stack. Lightly round the corners with sandpaper to reduce sharp edges.
2) Sand and prep for clean lettering
Sand each face smooth (fine grit works well), then wipe away dust. A smooth surface helps paint or marker adhere evenly and makes sealing more reliable.
3) Add letters (and optional images)
Pick a method that matches your tools and patience:
Stencils: Tape a stencil in place and dab acrylic paint with a sponge for crisp edges.
Permanent paint markers: Great for bold, consistent letters with minimal mess.
Vinyl decals: Apply letters, burnish firmly, and seal over them for longevity.
To extend learning, add simple pictures (A = apple) or use color-coding (vowels in one color, consonants in another).
4) Seal for safety and durability
Once the letters are fully dry, apply a child-safe, water-based clear coat. Use multiple thin coats, letting each dry completely. A solid seal helps prevent smudging and makes the blocks easier to wipe clean.
5) Optional upgrade: make them magnetic
If you want blocks that stick to a fridge or magnetic board, drill a shallow recess and glue in small disc magnets. Ensure magnets are fully embedded and sealed so they can’t loosen over time. For ideas and safety considerations, see this guide to magnetic wooden alphabet blocks.
FAQ
What paint is safe for baby toys?
Use non-toxic, water-based acrylic paint and let it cure fully before sealing. For maximum peace of mind, choose products labeled toy-safe or suitable for children’s items.












Leave a comment